
10 Great wall hanging tips

Precision hung photos in the new office along with my prized signed Ole Gunnar shirt which follows me everywhere. And a big space waiting to be filled.
This week I'm going to discuss something that I really find to be a bit of a pain in the neck, hanging prints.
It's all well and good having lots of lovely printed photographs lying around, you may even get round to framing a few but if they never get as far as being mounted on the wall what was the point of all that effort? Since moving into our new house I have boxes and boxes of ready framed prints still to be hung. Whilst choosing mounts and frames can be fraught with choice, choosing what to hang, where and with what else can be a real minefield. So to aid my process of filling some empty wall spaces, I have put together a few tips and tricks to help us all get that art on the walls.
1. The first step is to decide what you’re going to hang. Is a theme required? How many images do you want to show? How many frames do you want to put up? Are you planning any diptychs, triptychs or panoramas? Is this series going to grow? Might you want to add to it in the future? And finally what kind of frames and mounts best suit your photographs and the environment in which they are going to be placed?
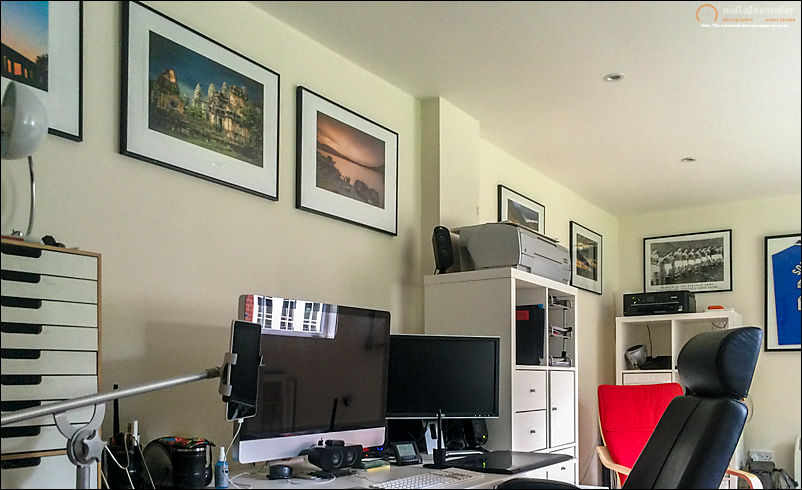
Photos hung on the new walls all perfectly aligned.
2. So you’ve worked out what you’re going to hang. The next task for you to do is choose the wall space you want to fill, and where on that wall you want them to hang. Don't hang works of art too high on the wall (a common mistake). The ideal height of the centre of a picture (if there is no piece of furniture below it) is somewhere between 155 and 160cm off the ground - this is about eye height for the average adult. I've hung mine high up here because I didn't want photographs to be directly in line of sight over the back of my monitor and I still have a bunch of smaller frames to go in the big empty space behind the red chair.
3. Hang works with a view to proportion and balance. For example, if hanging a picture over a fireplace, don't leave too much space under it unless that space will be filled, visually, with e.g. a clock. Also pictures need room to breathe. Don’t fill a space with the biggest frame you can fit in - make sure there is plenty of room around it.
4. If you are going to hang photos in patterns, then arrange them on the floor first before hanging to make sure you get the layouts and juxtapositions correct.
5. If possible, hang pictures from two points - either side of the back of the frame - not from one point. Not only is this safer, but it will prevent works from shifting and moving out of alignment over time

Using a laser level to make sure frames are lined up and aren't wonky.
6. If you are going to put several frames up in once space, then get a tape measure and pencil out. Do the calculations first and put small pencil marks on the wall where your hooks are to go. Trying to do it by eye, I guarantee you from past experience, will only irk you 2 months down the line. If you want to hang more than one frame at the same level, then something like the Black & Decker Laser Plus system is a godsend. By all means use a spirit level to make sure they’re level, but in the end trust your eyes; dado rails and ceilings etc are not always level themselves.

I think my calculations are right.....
If you don’t trust your maths, the alternative is to cut out sheets of paper and try it out.
7. Measure the wall space you want for your gallery. Cut pieces of paper to the size of your frames (tape several large pieces of paper together, if necessary). Fold paper in quarters to mark center lines.
8. Measure distance from top of each frame to where hook will be placed. Mark these points within the corresponding outlines on your paper layout.
9. Tape paper to wall with painter's tape or a spot of bluetack and experiment with different layouts Once you are happy with the frame layout, nail the picture hooks where marked. Remove paper.
10. Place all frames on hooks and step back and admire your handy work.
Finally, I mentioned a couple of weeks back that the office was closed for a spot of splashing paint around. Well I've finally finished and loaded up some vinyl. Happy days are here again :-)

Before...

After....